Creat / edit stories
- In the "Stories" section, click "Create a story".
- Fill in the Title.
- Add a Story Logo
![]()
- Set the settings:
- Start date – the start date of the story activity period.
- End date – the end date of the story activity period.
- Pin – pinned stories will be located first in the application.
- Show on launch – the method of sending and showing the story.
- "No" - the story is linked to the route and is simply stored on th*e merchandiser's phone and displayed in his personal profile. He can open it and view it whenever he wants. It is not linked to specific stores and is not shown automatically.
- "Application" - the story is linked to routes and is displayed in the user's profile. When the merchandiser selects the route in the application to which this story is attached and enters it, the application automatically shows the story - but only if he has not read it before.
- "Visit" - the story is linked to a specific store. When the merchandiser is about to go to this store, the application automatically shows him the story before the visit - if he has not watched it before.
- Click "Save".
- After saving the story, you can add slides using the "+Add" button.

- Upload the slide and set the Slide Duration. Click «Save».
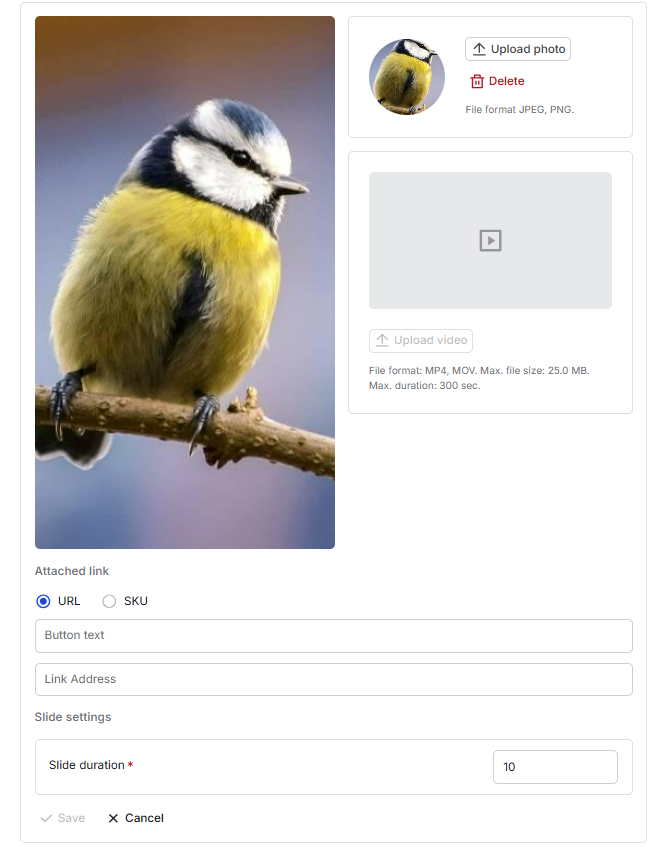
- After saving the first slide, the option to upload the second one will be available.
The task will appear on the portal and in the user's application.
Adding links to external resources.
Within a specific story, there is the option to add links to external resources (for example, to a portal with training materials) or to SKU.
Adding URL links.
- While in the Story you want, click "Add" slide.
- Paste the URL and save.
Adding a link to SKU
- When adding a new story slide, select the type of attached link "SKU" and click "Add" link to the product.
- In the window that opens, set up filters to select the required SKU, select the product and click “Add”.
Edit history
- If you need to change the name of the history, hover over the field and click on the edit sign.
- Edit and click on the check mark to save.
- To change the history settings, edit the necessary fields and click "Save".
Turning off a story
If you want to stop a story from being broadcast to users, you can turn it off.
- In the «Stories» section, tap the story you want to turn off.
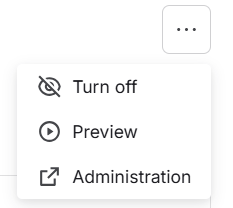
- In the upper right corner, tap more actions, then «Turn off».
Previewing stories
After creating/editing a story on the portal, you can see how the story will be displayed in the application.
To do this, in the "Stories" section, go to the story you created/edited.
- Click on the menu button.
- Select "Preview".
After clicking the "Preview" button, the story will appear on the screen in the form in which it will be displayed on the device (taking into account the duration of the display).
In the window that opens, you can:
- See the number of slides.
- Switch between stories.